
 Even down to the order of the different washers
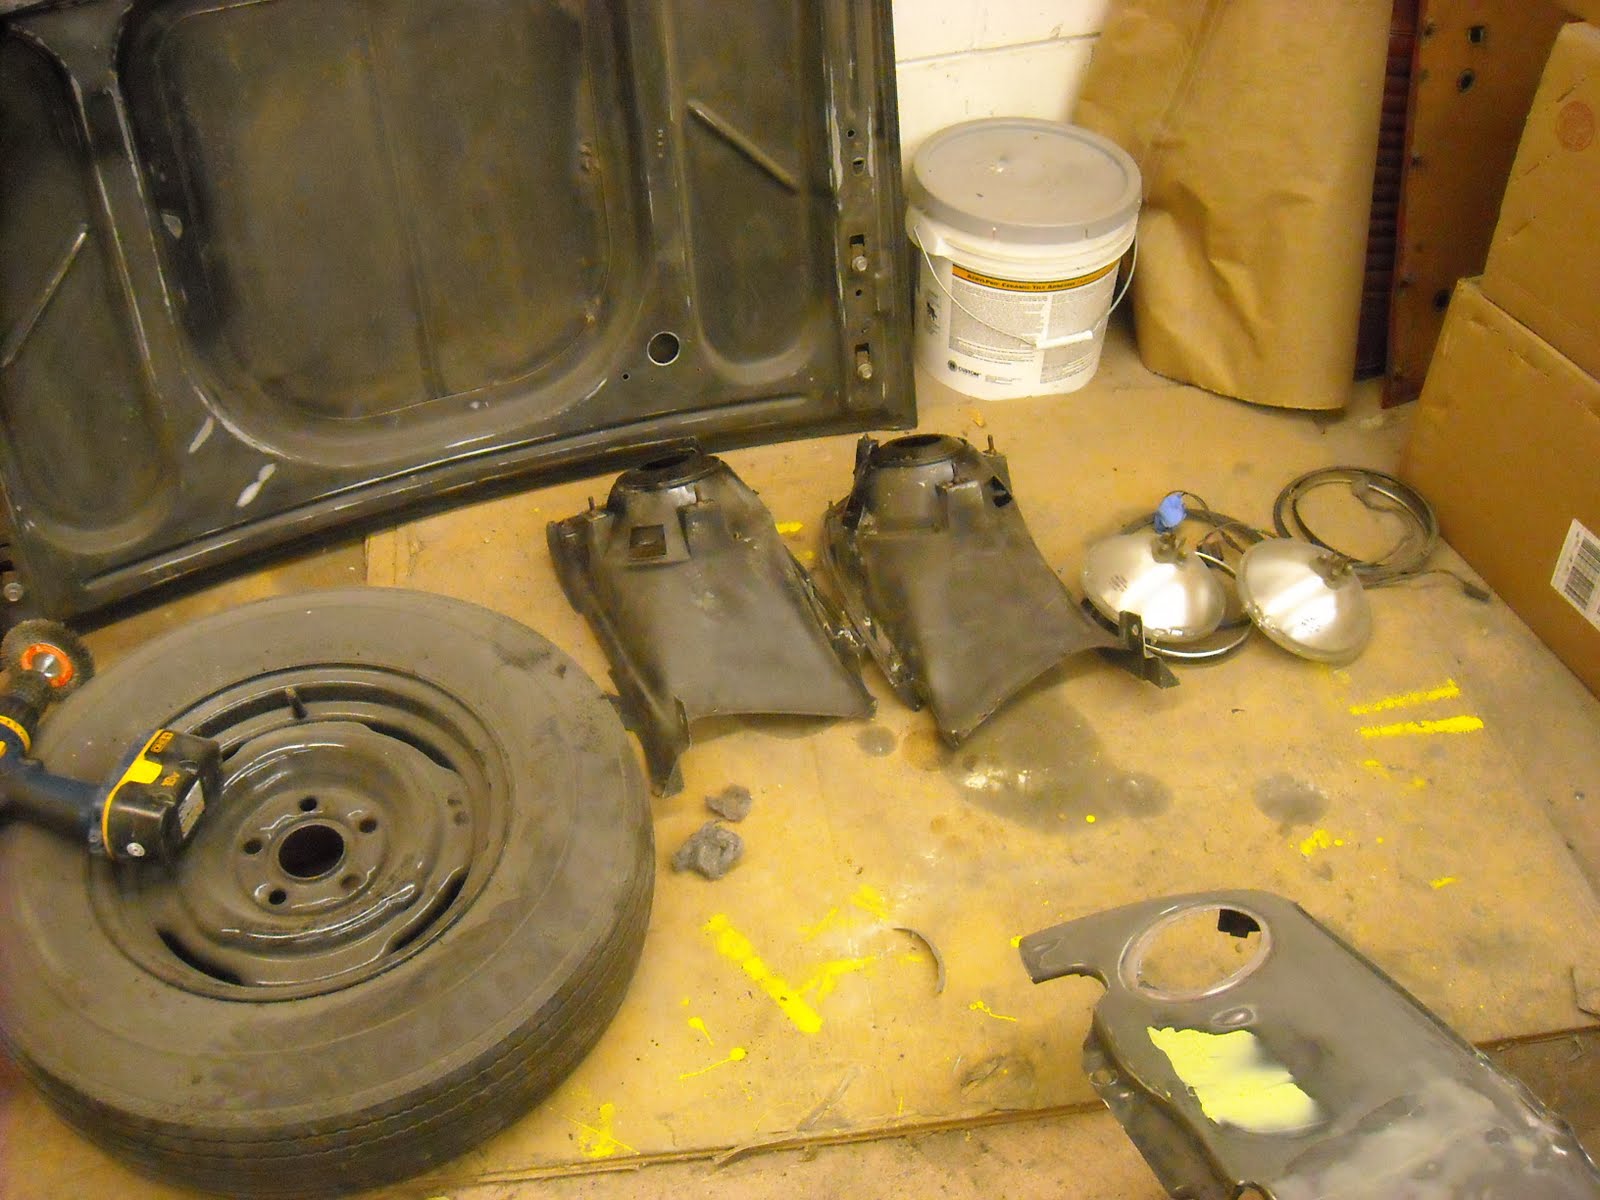
 This is what had been left behind. Mark was going to post it all on ebay soon.
 After the blasting, I went back to Brian's garage to be with the car. The parts took way too long to blast. But they will look nice after they get a fresh coat of paint.
 Many of the parts were in great shape, once I removed 40 years of crud. Some of the parts were expensive to replace so it was worth the time to clean them. After they were cleaned, I tested each socket and replaced the bulbs that were necessary.
 This plate light was a mess but cleaned up great.
I removed the headlight buckets from the fenders. There was some rust ( hard to believe isn't it?) so I cleaned the rust, used a rust inhibitor, primed and painted the area with a gloss black and then a coat of clear. These areas inside the bucket can not be seen after reassembly so I did not see the need to color coat them and add another item to the post color coat reassembly. When my kids were young the term " some assembly required" was always a fun challenge. I think it was all training for the biggest " some assembly required " Christmas job of my life.
 These are the rear bumper brackets before the repaint.
 Some of the parts after fresh paint.


 Now it was time to get to the front grill. It was a bit messed up. The grill itself is relatively easy to dent and bend up. I spent a fair amount of time realigning the grill itself. I then went to the chrome. It too, was in good shape. No big pitting that could not be cleaned off.

 Brian gave me a great spot in the clean garage to keep the finished items. That way I will not need to dust everything off after the sanding and priming that will be done on the car.
 O.K., time to prime. Jeremy came down to help. Thank God. We got the hood hung and shot then went on to the body.

 He tried to teach me. I have a new respect for all the car painters out there.

 The primer looked great! There was even the area of the door lines that we had a hard time matching. Before it was primed, I was able to dolly the door and the rear quarter a bit to get the match much better. All we need now is to lift the door about 1/4 inch and we will be golden.


 The buckets turned out good too.
 I have a bit more work to do on the fenders. The primer exposed some of the remaining imperfections in the metal. A bit of fine tuning is next.

 The trunk lid is ready for 500 grit sanding then COLOR COAT!!!

 The gap is much better then before but not good enough , yet.
 These are the rear bumper brackets before the repaint.
 Some of the parts after fresh paint.

 Now it was time to get to the front grill. It was a bit messed up. The grill itself is relatively easy to dent and bend up. I spent a fair amount of time realigning the grill itself. I then went to the chrome. It too, was in good shape. No big pitting that could not be cleaned off.
 Brian gave me a great spot in the clean garage to keep the finished items. That way I will not need to dust everything off after the sanding and priming that will be done on the car.
 O.K., time to prime. Jeremy came down to help. Thank God. We got the hood hung and shot then went on to the body.
 He tried to teach me. I have a new respect for all the car painters out there.
 The primer looked great! There was even the area of the door lines that we had a hard time matching. Before it was primed, I was able to dolly the door and the rear quarter a bit to get the match much better. All we need now is to lift the door about 1/4 inch and we will be golden.

 The buckets turned out good too.
We are getting closer.
 I have a bit more work to do on the fenders. The primer exposed some of the remaining imperfections in the metal. A bit of fine tuning is next.
 The trunk lid is ready for 500 grit sanding then COLOR COAT!!!
 The gap is much better then before but not good enough , yet.
So , Saturday represents 16 hours of sanding and cleaning and sanding and painting and sanding and assembling and , did I mention ...sanding?? Thanks Jeremy, you are a good little brother.